How to set a custom lock sound on Tesla — step by step
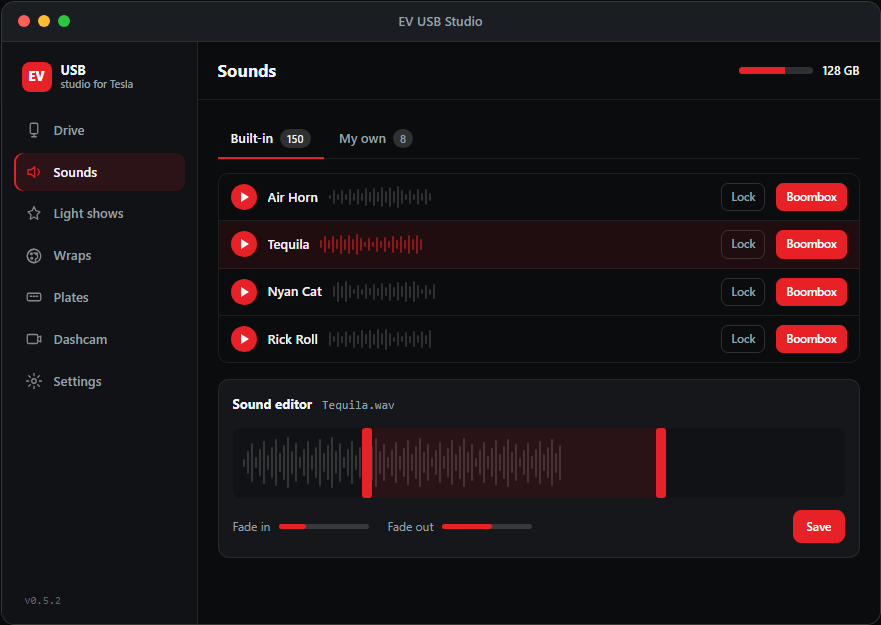
Tesla can play your own sound when you lock the car — instead of the default chirp. Here is how to do it in about 5 minutes with EV USB Studio, with no command line and no messing with folders.
What you need
- A USB drive (64 GB+ recommended if you also want the dashcam)
- Your audio file — a short sound: a horn, a phrase or a tune
- EV USB Studio for Windows or macOS
Step 1. Open the Sounds section
Launch EV USB Studio and go to Sounds. The ready-made library is on the left, the editor below. Click Add and choose your audio file (or just drag it into the window).
Step 2. Trim and tune
In the editor drag the edges to keep the part you want, and set Fade in / Fade out so the sound does not click. Click Save.
Step 3. Mark it as Lock
Next to the sound click the Lock button (LockChime) — that is what plays when you lock the car. The Boombox button assigns the sound to the external speaker.
Step 4. Prepare the USB drive
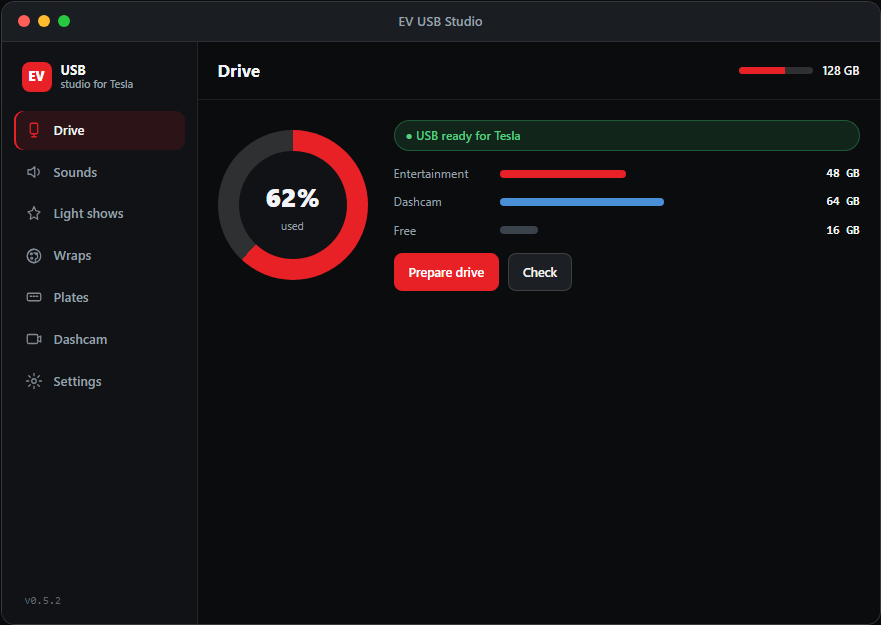
Plug in the drive, open the Drive section and click Prepare drive — the app creates the correct folders and format (exFAT) that Tesla understands.
Step 5. Plug it into the car
Insert the drive into a Tesla USB port (usually in the glovebox or center console). Now your sound plays when you lock the car. Done!
Tip: no sound? Check the drive is in the right port and formatted with EV USB Studio. The built-in drive check will tell you what to fix.